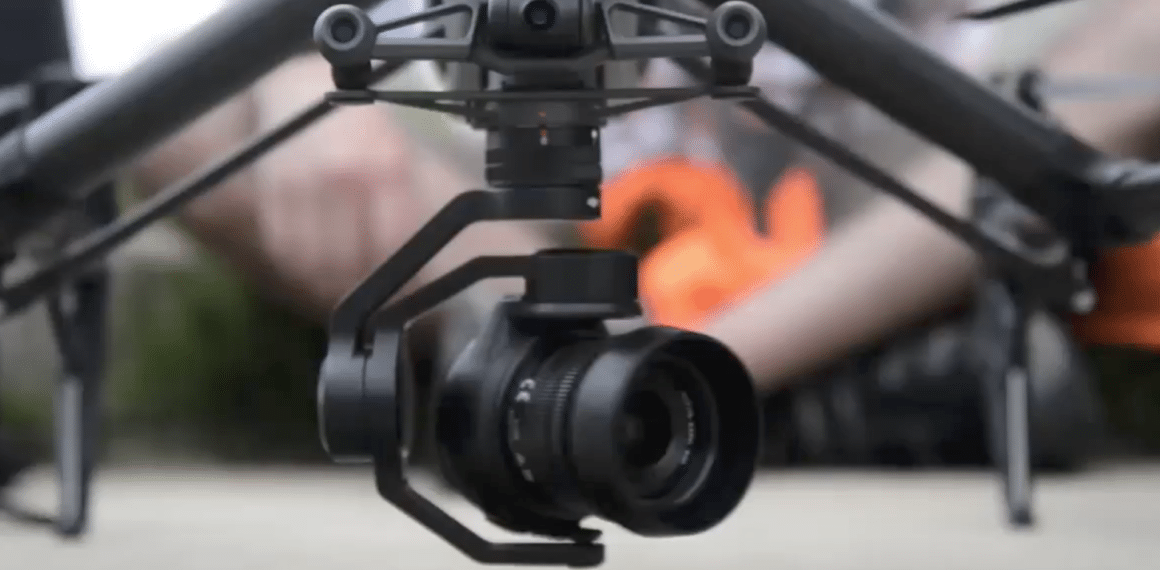
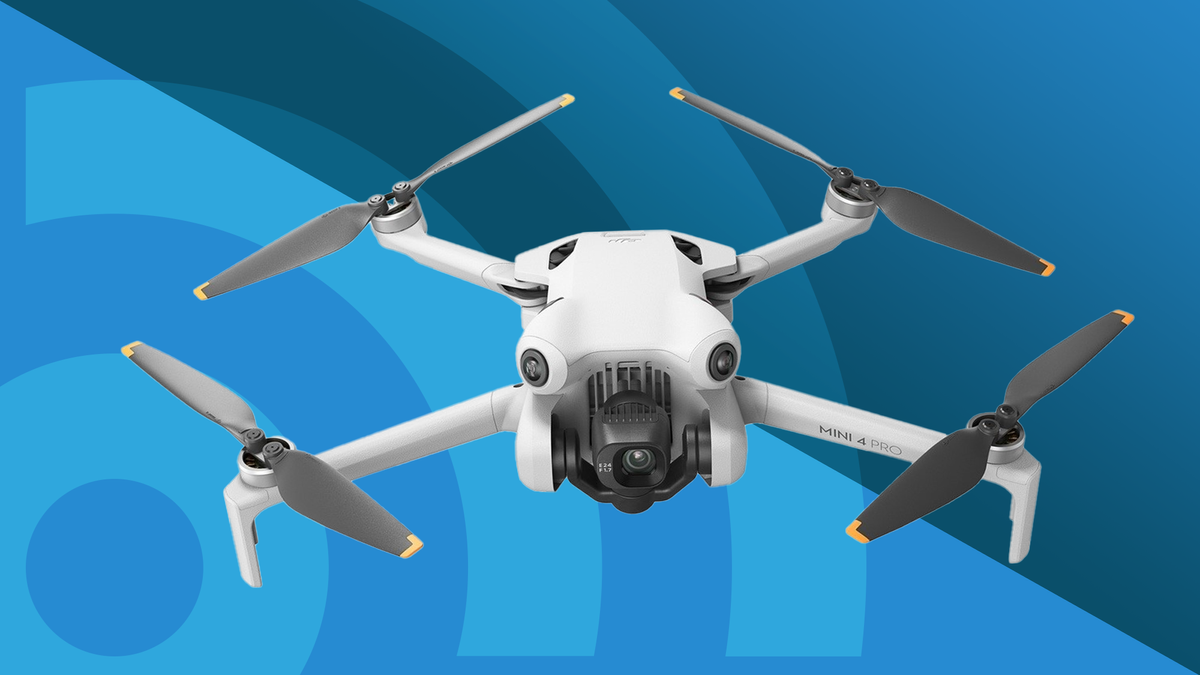
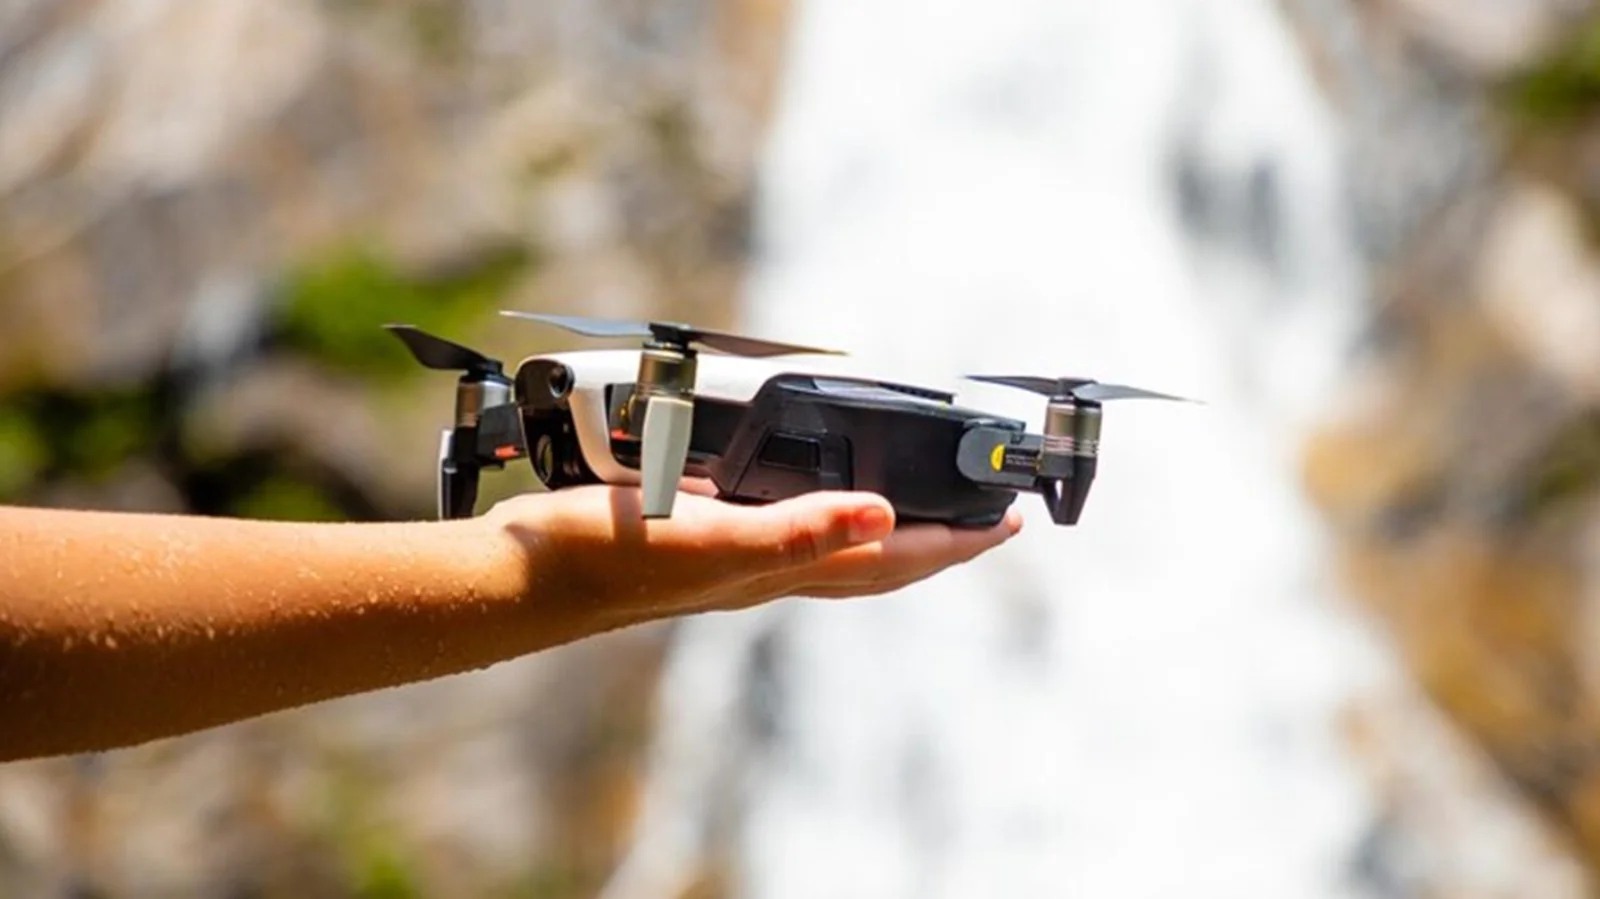
Aerial photography has become more accessible and breathtaking than ever with the advent of drones equipped with high-quality cameras.
However, achieving the perfect shot from the sky requires a comprehensive understanding of various camera settings, including aperture.
In this article, we will delve into the importance of aperture settings for drone cameras, how they affect your aerial photography, and the creative possibilities they offer.
The Significance of Aperture in Aerial Photography
Aperture is one of the three pillars of exposure in photography, alongside shutter speed and ISO. It plays a crucial role in determining the amount of light that enters the camera’s sensor and affects both the exposure and the creative elements of your aerial shots.
How Aperture Works
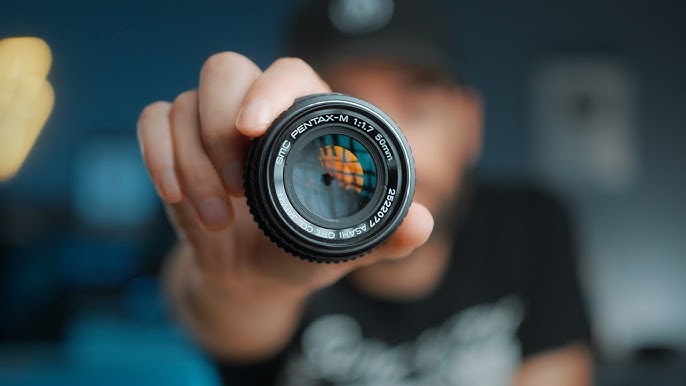
a. Aperture Size: Aperture is measured in f-stops (e.g., f/2.8, f/4, f/8). A lower f-stop number indicates a larger aperture, allowing more light to enter the camera. Conversely, a higher f-stop number represents a smaller aperture, letting in less light.
b. Depth of Field: Aperture also influences the depth of field (DOF), which is the range of sharpness in your image. A wider aperture (lower f-stop) results in a shallow DOF with a blurred background, while a narrower aperture (higher f-stop) increases the DOF, making more of the scene appear sharp.
How Aperture Impacts Aerial Photography
a. Exposure Control: Aperture settings play a vital role in controlling the exposure of your aerial shots, especially in varying lighting conditions.
b. Depth and Composition: Adjusting the aperture allows you to control the depth of field and create different compositional effects in your aerial photographs.
c. Sharpness and Clarity: The choice of aperture can influence the overall sharpness and clarity of your aerial images.
Choosing the Right Aperture for Aerial Photography
a. Wide Aperture (e.g., f/2.8): Use a wider aperture for aerial shots when you want to isolate a subject or create a shallow depth of field effect. This is ideal for emphasizing a single object against a blurred background.
b. Narrow Aperture (e.g., f/8 or higher): In situations where you want to capture more details in the scene, use a narrower aperture. This is useful for landscape shots or when you need a larger depth of field.
c. Bracketing: Consider bracketing your shots by taking multiple photos at different aperture settings to ensure you capture the scene with varying depths of field. This gives you more creative options in post-processing.
Practical Tips for Aperture Settings with Drone Cameras
a. Understand Your Drone Camera: Familiarize yourself with your drone’s camera and its aperture settings to maximize creative control.
b. Lighting Conditions: Adapt your aperture based on the lighting conditions. Use wider apertures in low light and narrower apertures in bright conditions.
c. Practice and Experiment: Experiment with different aperture settings during flight to understand their impact on your aerial shots.
Conclusion
Aperture settings for drone cameras are a fundamental aspect of aerial photography that allows you to control exposure, depth of field, and creative composition.
By mastering aperture control, you can unlock the full potential of your drone’s camera and capture stunning aerial images that stand out.
As you gain experience and experiment with various aperture settings, you’ll find endless opportunities for creativity in the world of aerial photography.
So, take to the skies, adjust your aperture, and embark on a journey to capture breathtaking aerial vistas with precision and artistry.


Leave a Reply