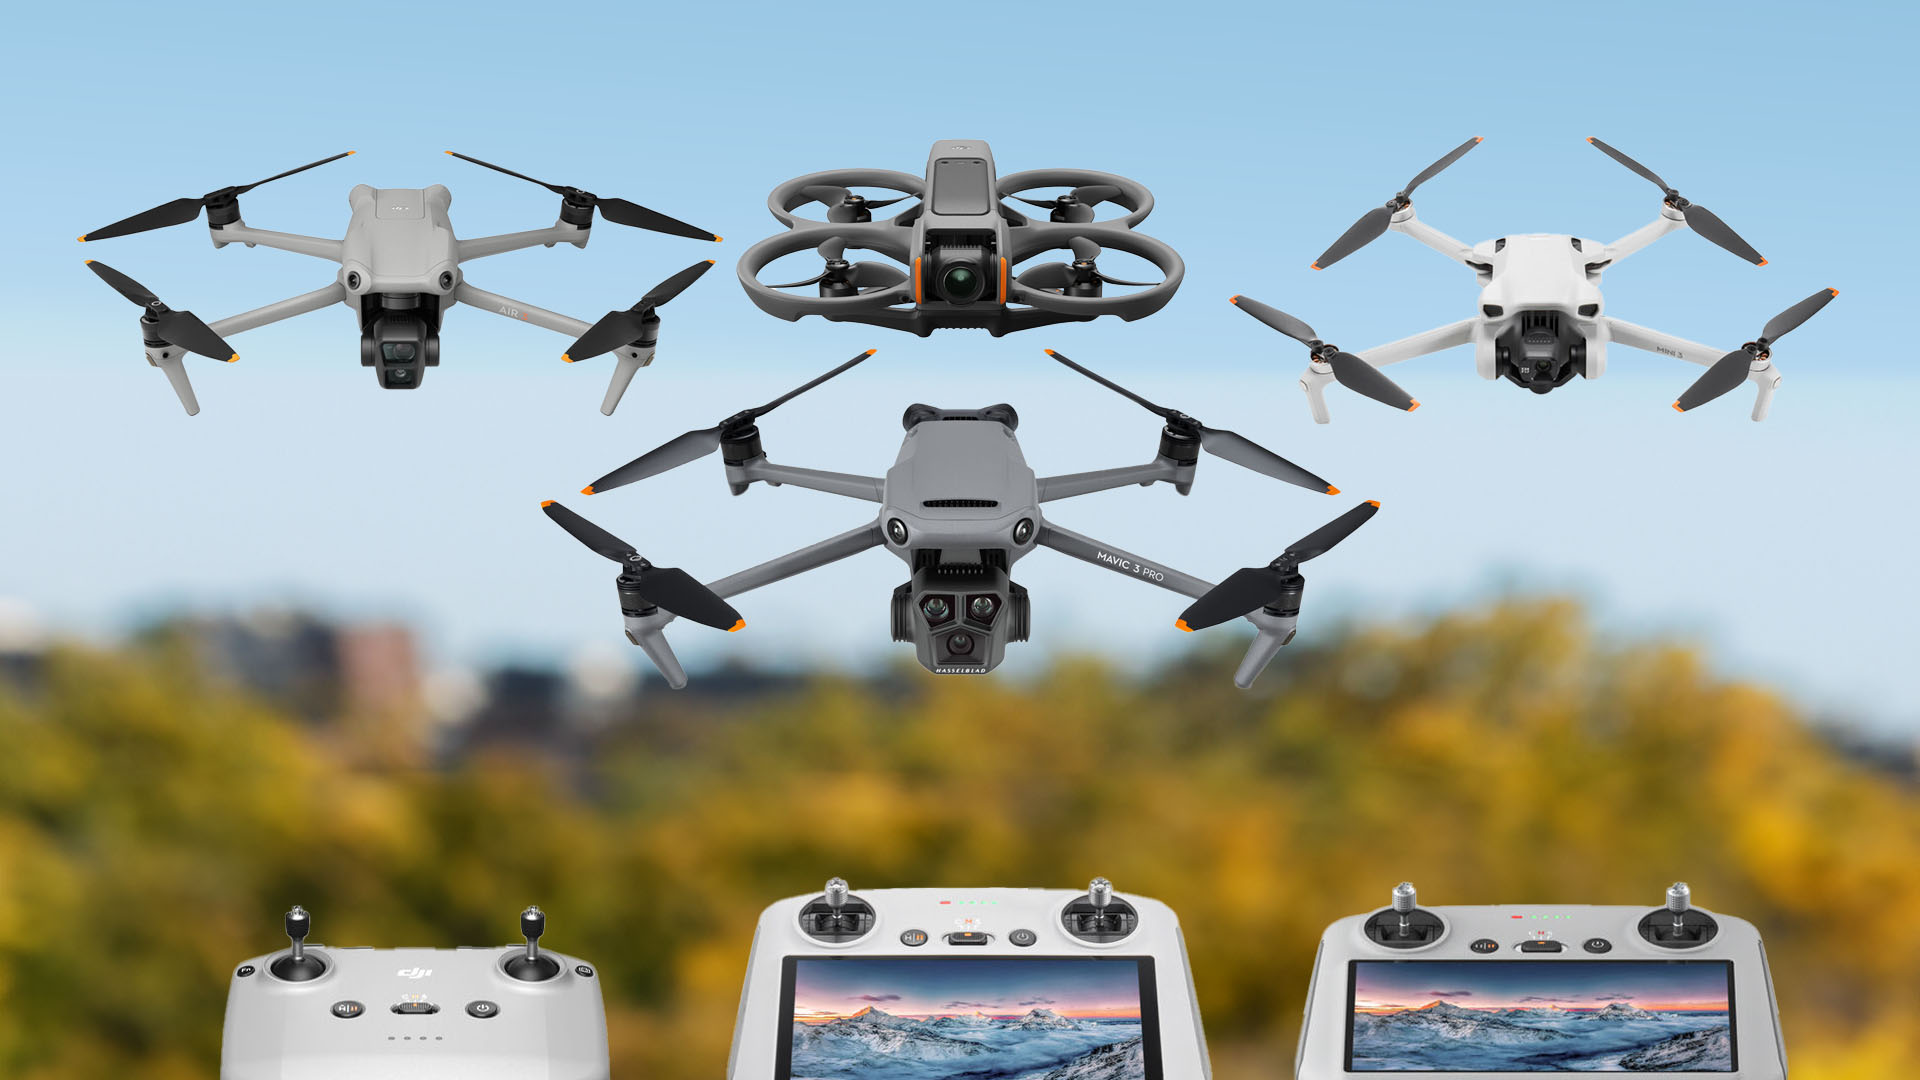

Choosing the right drone camera lens is crucial for capturing high-quality aerial images and videos. The lens you select will significantly influence the sharpness, clarity,
In the ever-evolving world of drone photography, the choice of camera lens can dramatically affect the quality and versatility of your aerial shots. Different types
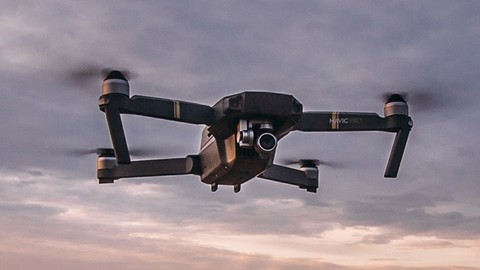
In the realm of drone photography and videography, high-resolution camera lenses are key to capturing stunning, detailed images from the sky. Whether you’re shooting expansive
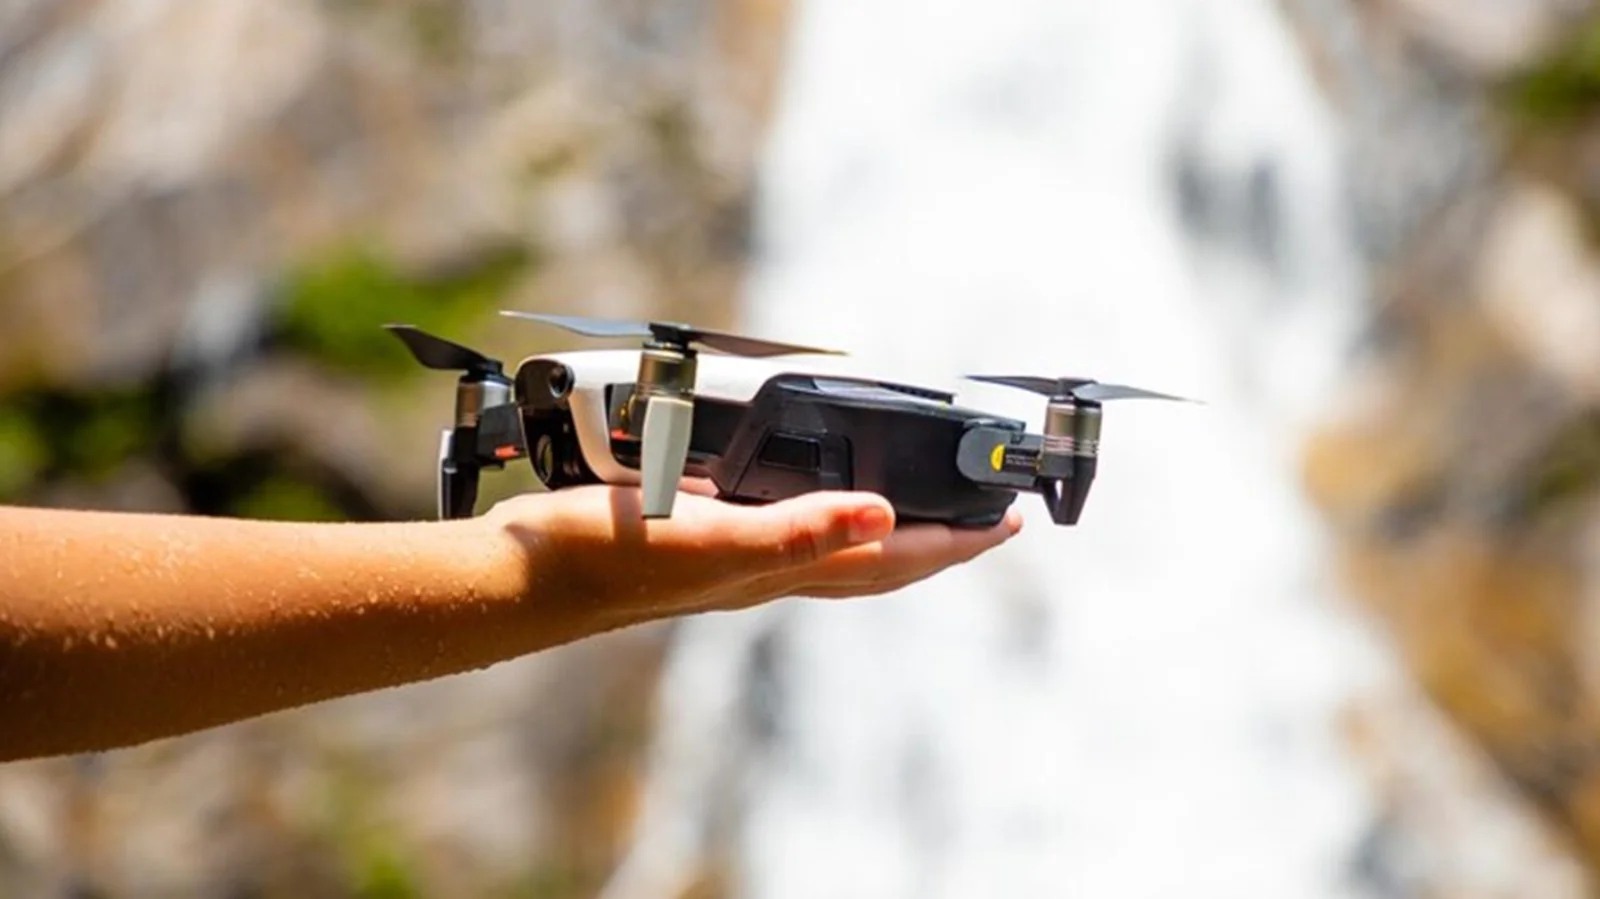
Aerial photography has become increasingly popular with the rise of drone technology, enabling photographers to capture stunning images from unique perspectives. One of the most
Choosing the right drone camera lens is crucial for capturing high-quality aerial images and videos. The lens you select will significantly influence the sharpness, clarity,
In the ever-evolving world of drone photography, the choice of camera lens can dramatically affect the quality and versatility of your aerial shots. Different types
In the realm of drone photography and videography, high-resolution camera lenses are key to capturing stunning, detailed images from the sky. Whether you’re shooting expansive
Aerial photography has become increasingly popular with the rise of drone technology, enabling photographers to capture stunning images from unique perspectives. One of the most