


Aerial photography has evolved significantly over the years, and one of the key techniques that have transformed this art form is High Dynamic Range (HDR) imaging.
HDR imaging allows aerial photographers to capture breathtaking shots with an unprecedented level of detail and dynamic range.
In this article, we will explore the concept of HDR imaging in aerial photography and provide insights into how you can master this technique to take your aerial shots to new heights.
Understanding HDR Imaging
HDR imaging is a photographic technique that involves capturing multiple images of the same scene at different exposure levels and then merging them to create a single image with a broader dynamic range.
In the context of aerial photography, this technique is particularly valuable as it allows you to capture both the bright highlights and the deep shadows that are often present in aerial landscapes.
The Benefits of HDR Imaging in Aerial Photography
- Preserving Detail: One of the primary advantages of HDR imaging is the preservation of intricate details. When shooting from the sky, capturing fine details in both the landscape and objects below is essential, and HDR helps achieve this by balancing the exposure.
- Balanced Lighting: Aerial photography frequently involves challenging lighting conditions, such as harsh sunlight or deep shadows. HDR imaging ensures that your photos have balanced lighting, making them more visually appealing and realistic.
- Vibrant Colors: HDR photos often exhibit more vibrant and true-to-life colors. This is especially valuable when capturing landscapes with diverse colors and textures, as it brings out the richness of the scene.
- Reduced Noise: HDR imaging can help reduce noise, especially in shadowy areas of the image. This results in cleaner and more professional-looking photographs, even in challenging lighting situations.
- Creative Flexibility: HDR images provide photographers with greater creative freedom. By capturing a series of bracketed shots at different exposures, you can experiment with various post-processing techniques to achieve your desired look, from natural to artistic effects.
Mastering HDR Imaging in Aerial Photography
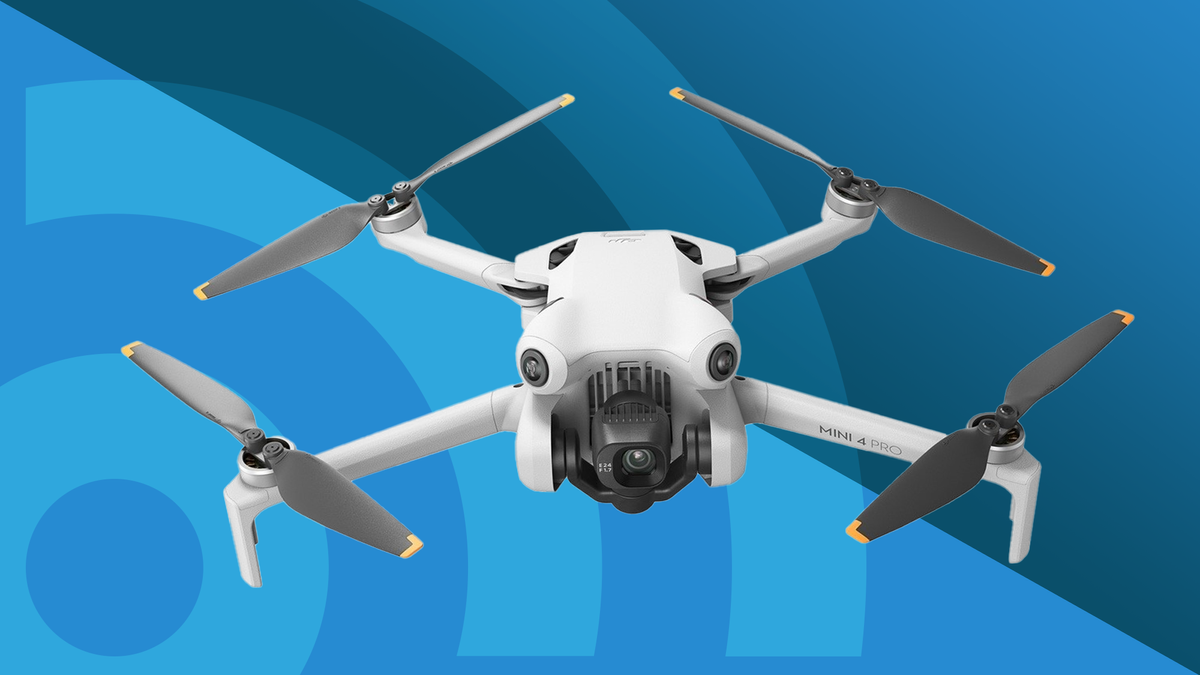
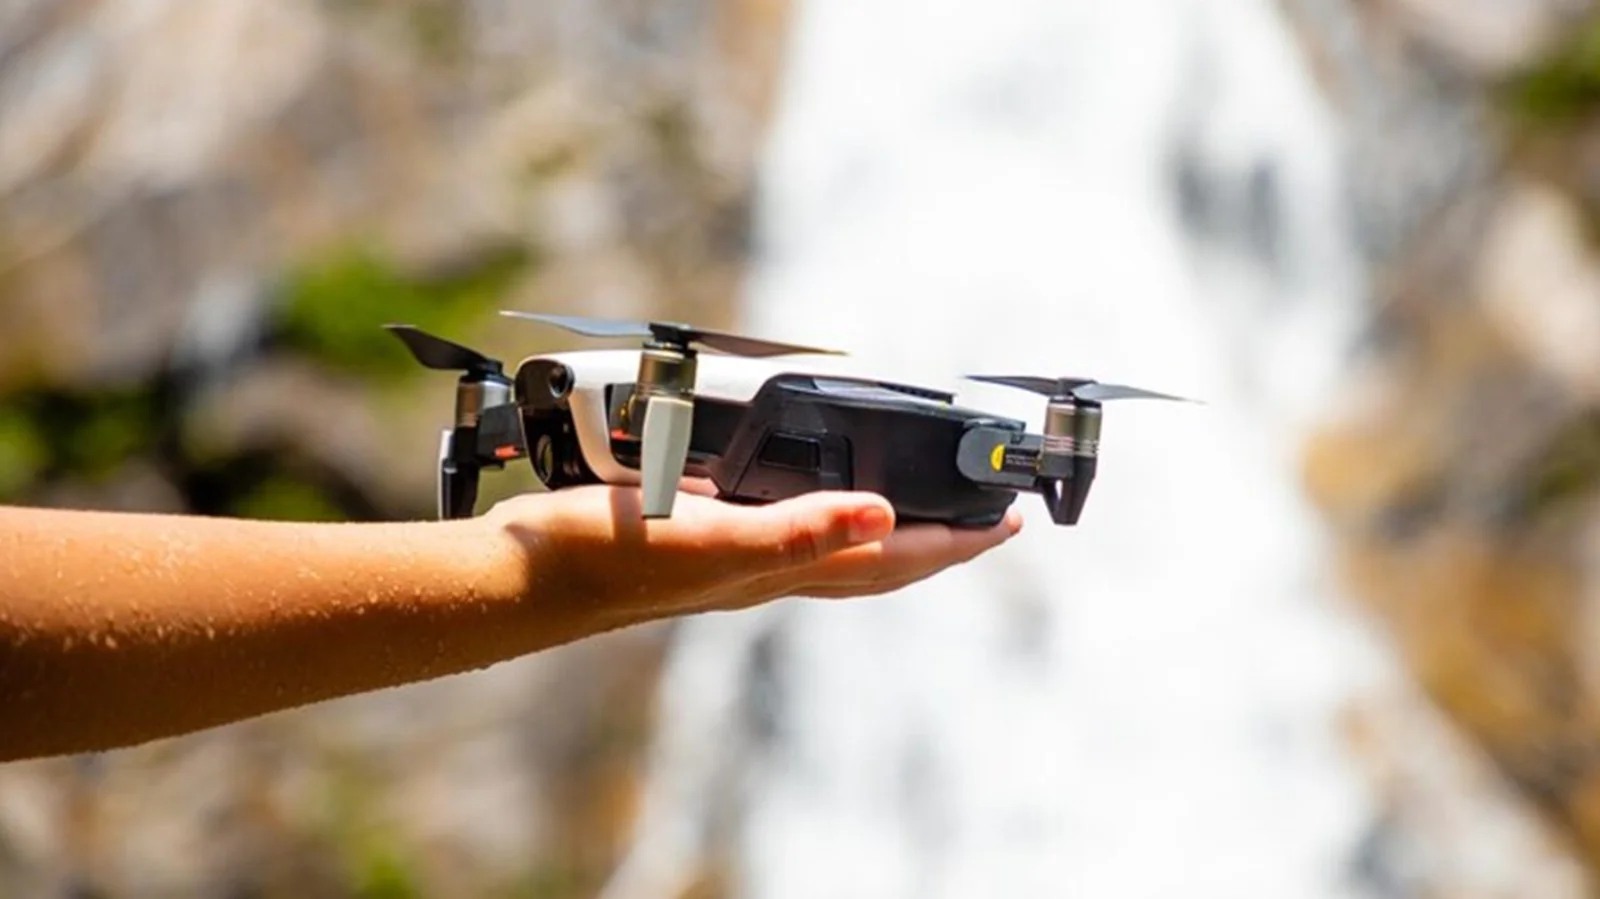
- Choose the Right Equipment: To excel in HDR aerial photography, start with the right equipment. Ensure your drone has a high-quality camera with manual settings and bracketing capabilities.
- Bracket Your Shots: Most modern drones offer bracketing options, allowing you to take multiple shots with varying exposure levels automatically. Bracketing ensures you have a range of images to blend later in post-processing.
- Plan Your Shots: Carefully plan your shots, considering the composition and lighting conditions. Pay attention to the golden hours during sunrise and sunset for soft, warm tones and long shadows.
- Use Manual Settings: Utilize manual settings on your drone’s camera to have precise control over exposure. Adjust ISO, aperture, and shutter speed to achieve the desired effect.
- Shoot in RAW: Always shoot in RAW format rather than JPEG when doing HDR photography. RAW files retain more image data and provide greater flexibility during post-processing.
- Post-Processing: After capturing your bracketed shots, use photo editing software like Adobe Lightroom or Photoshop to merge them into an HDR image. Fine-tune exposure, contrast, and color to create the final masterpiece.
Conclusion
HDR imaging has become an invaluable tool in the arsenal of aerial photographers. It allows you to capture the full beauty of landscapes, cityscapes, and other subjects from above with exceptional detail and balance.
By understanding the principles of HDR imaging and mastering the techniques involved, you can take your aerial photography to new heights and create captivating images that leave a lasting impression.
Leave a Reply